As I’ve mentioned, most cheese recipes follow a pretty similar pattern – the devil is in the detail. However, when making hard cheese, you need to drive off more whey than you would with a soft cheese. This can be done by cutting the set curd more finely, increasing the surface area through which the whey can drain. It can also be done by scalding the curd, raising the temperature to force out still more whey.
With this cheddar recipe, I’m still using a mesophilic starter (which tends to be happiest between 20˚C and 40˚C), rather than the heat-loving thermophilic cultures (35˚C and 45˚C) that you might use for springier cheeses such as Emmental or Mozzarella.
The real difference in the process comes once I have cut the curd (into small 1cm squares). The curds are then gently heated up to 40˚C, stirring continuously for 15 minutes and occasionally for a further 15 minutes. They are then left to rest before the whey is poured off.
The curds have now coagulated into a single mass at the bottom of the bain marie. These are cut in half and stacked one on top of the other. This process, which is repeated, is known as cheddaring – the weight of the cheese itself helping to drive out yet more whey.

Once the curds have achieved the desired pH of 5.5 (which, in this instance, took somewhat longer than expected), they are broken up by hand into walnut-sized pieces. Professional cheddar makers have a peg mill through which strips of curd can be run, much like a mangle.
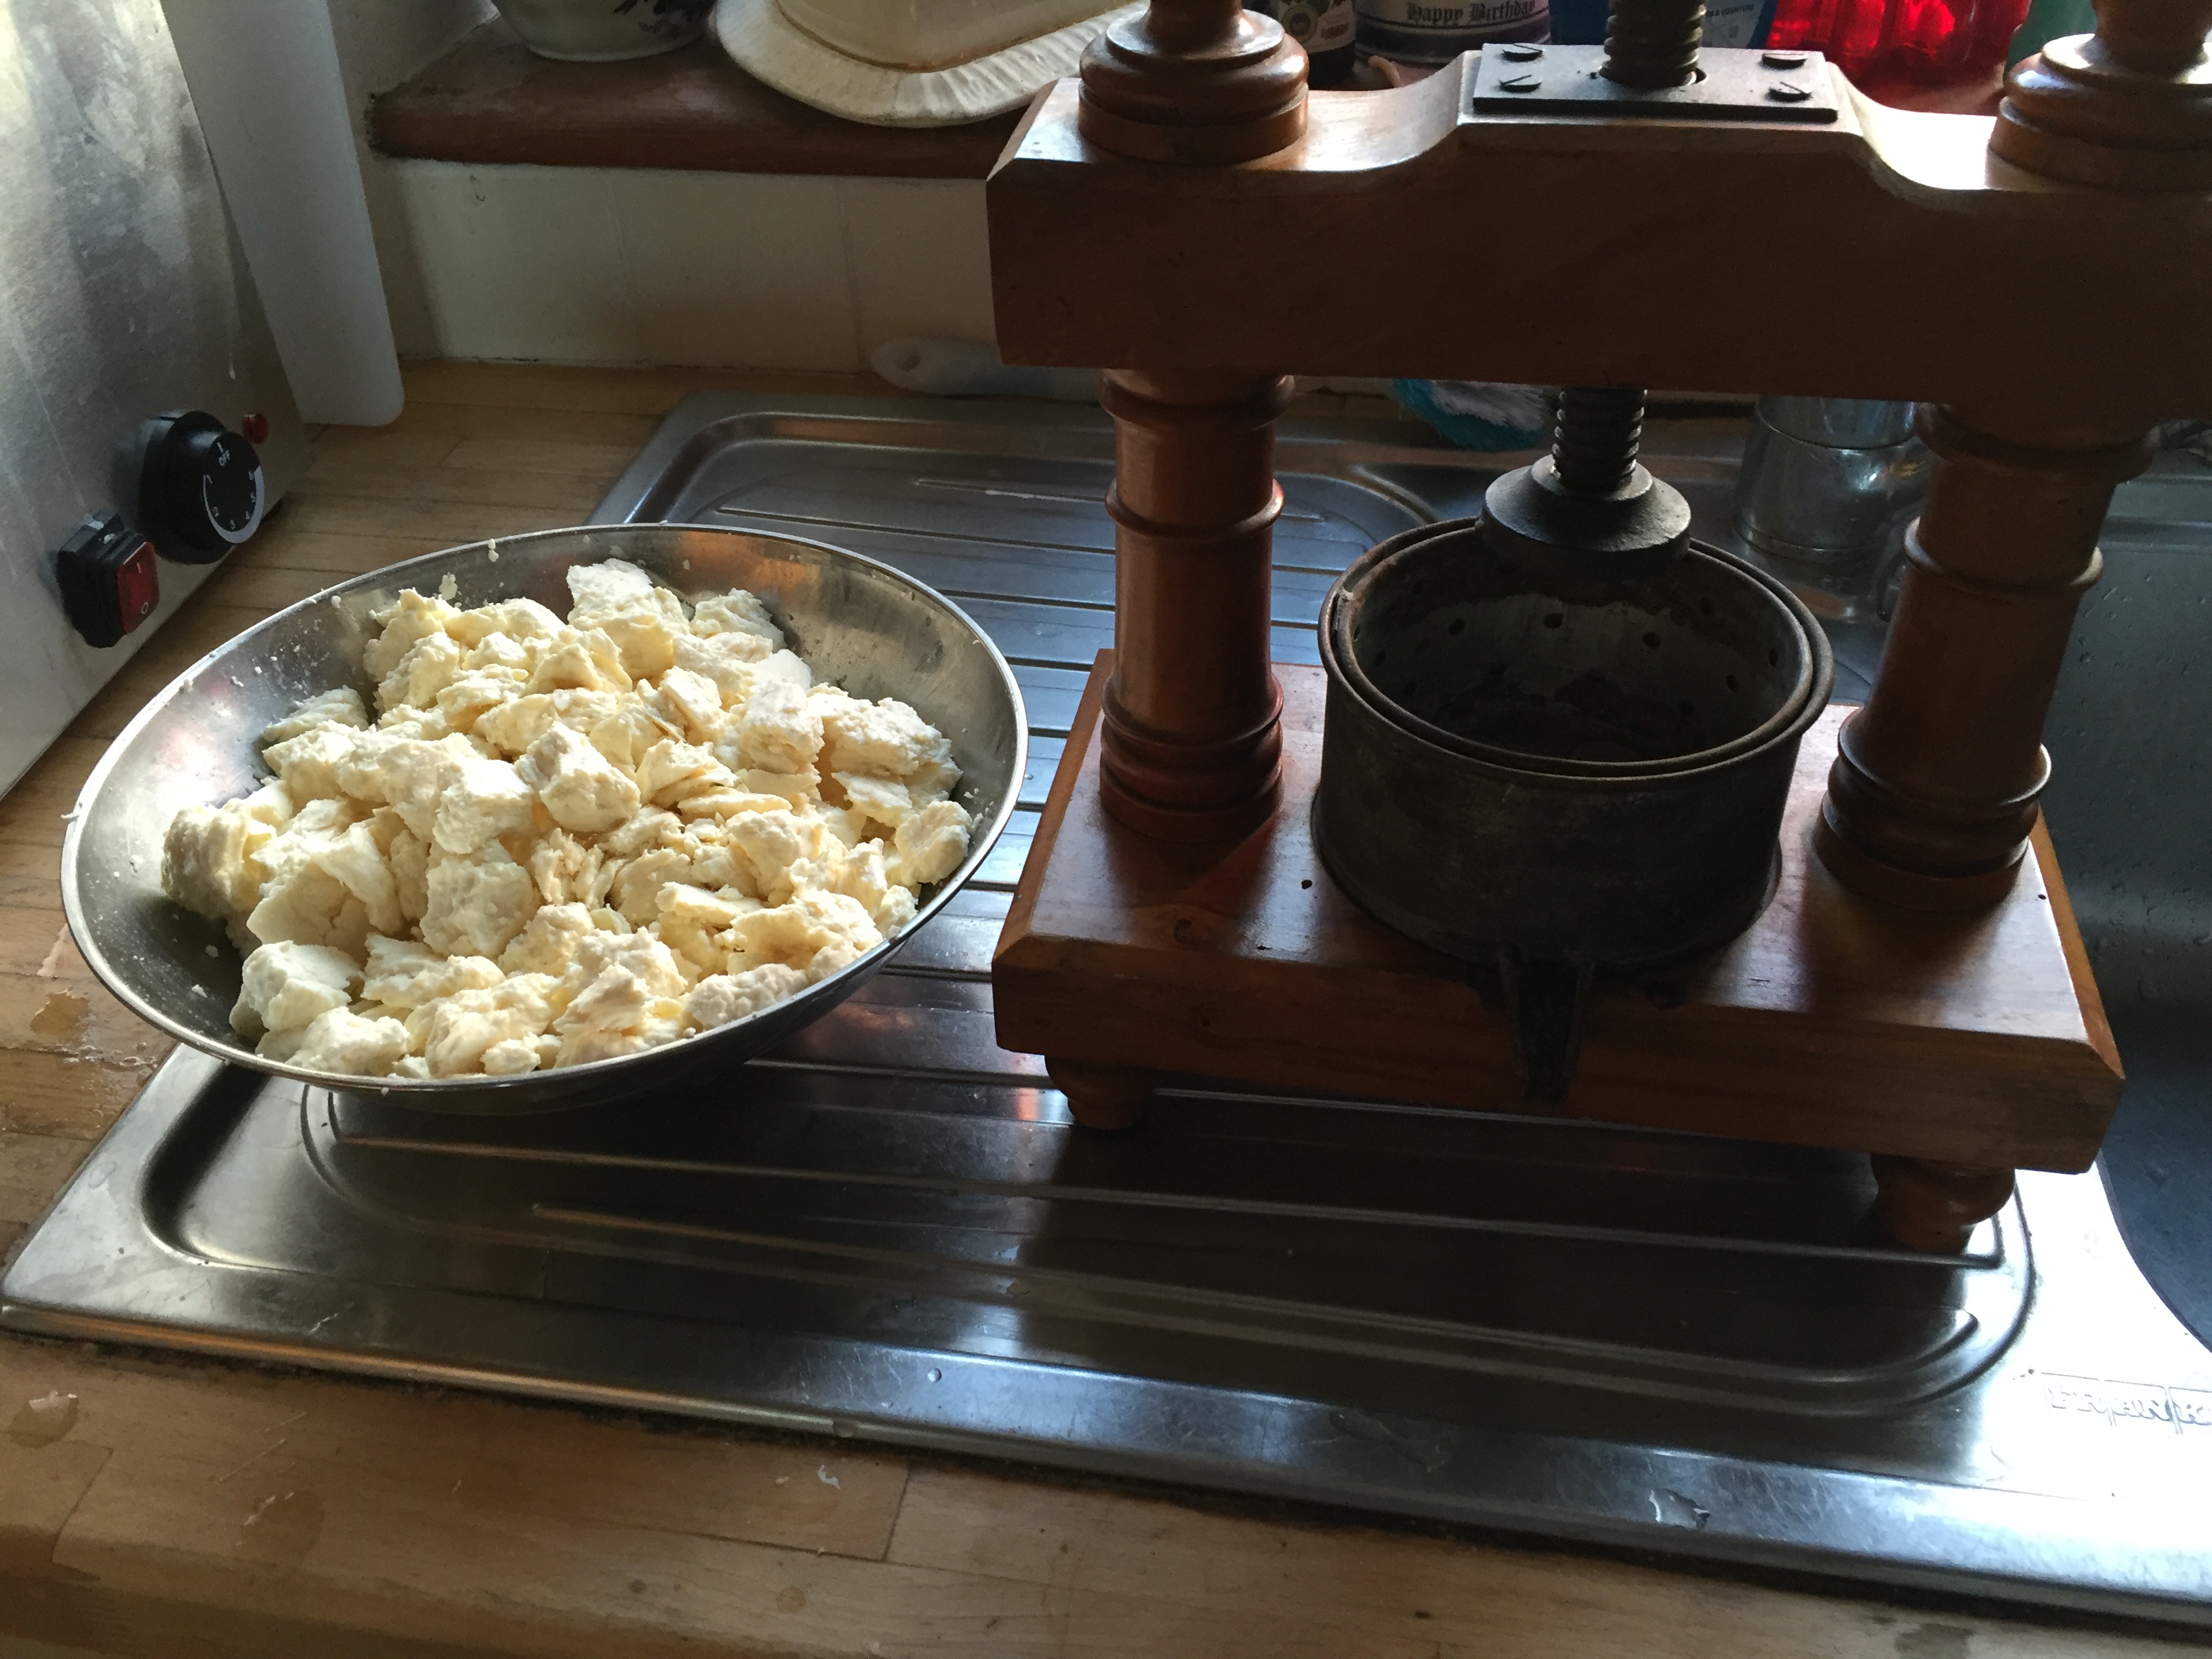
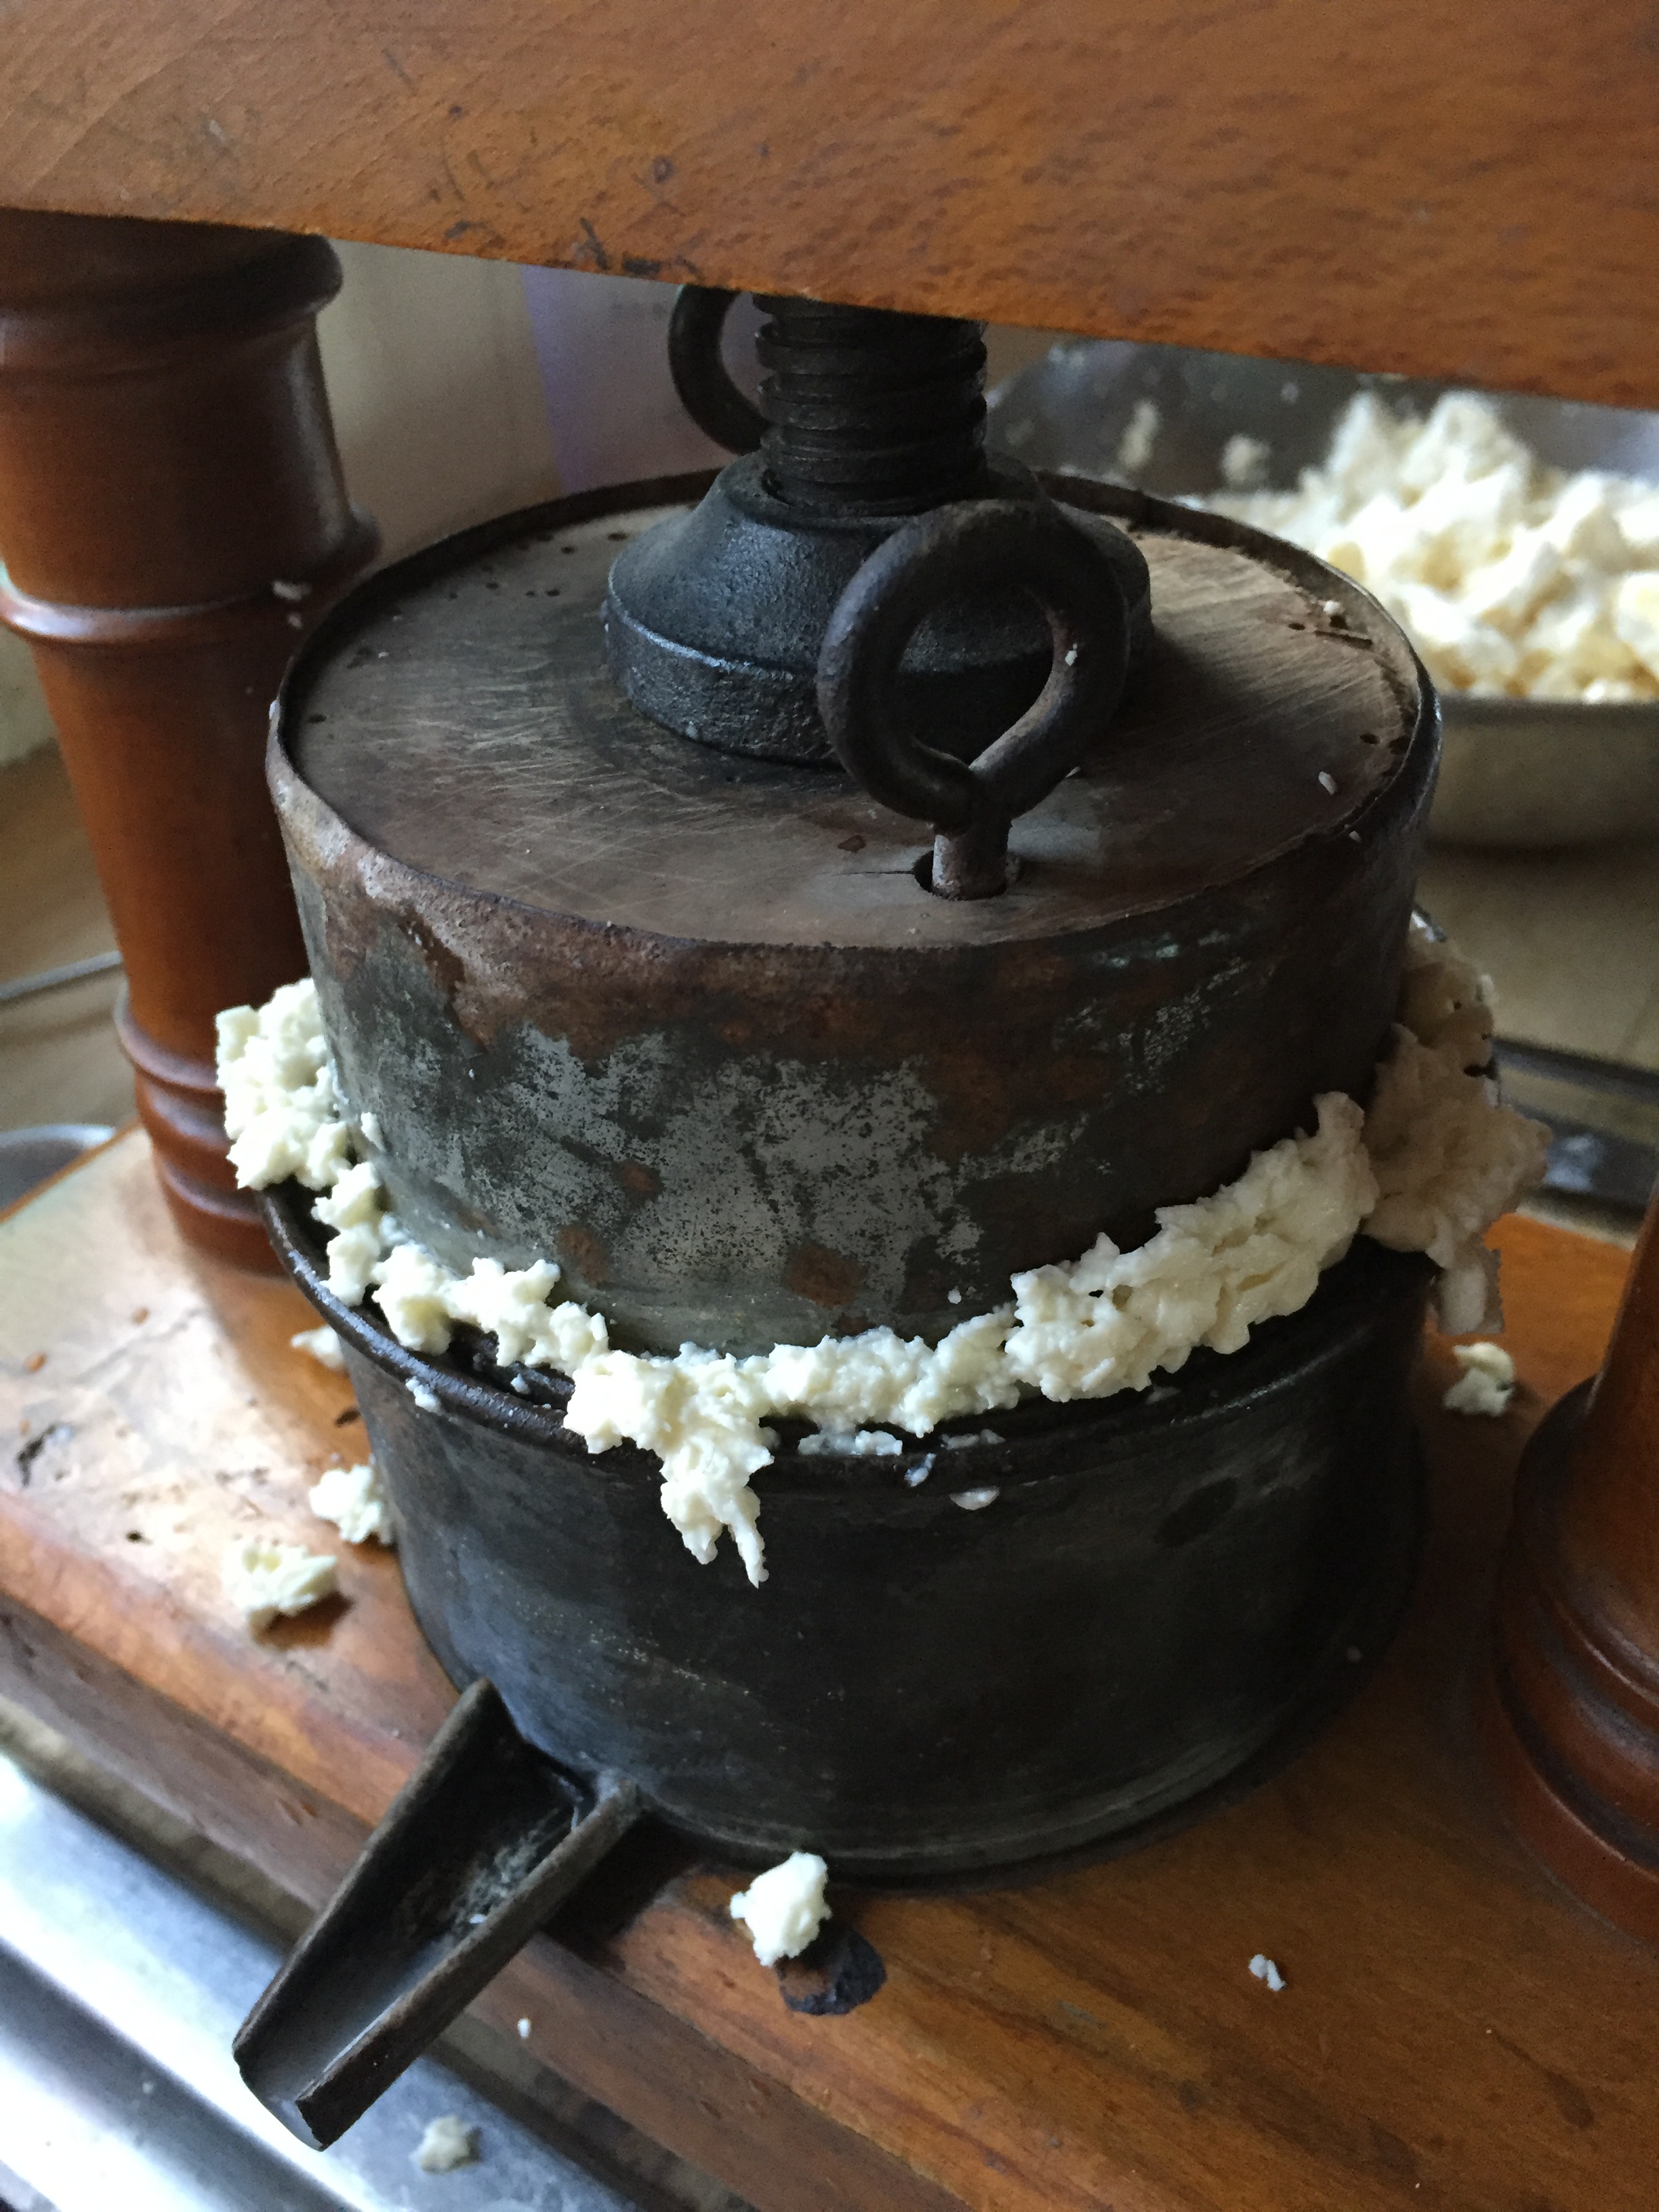
The milled curd is salted, stirred, left to mellow – and then finally added to the mould and pressed overnight under 5 times the weight of the cheese. I’m approximating here as I have not found a way to calibrate the pressure of my cheese press. However, I’m satisfied that the cheddar is under more pressure than I achieved back in May.
The following day, I wrap and bind the cheese in muslin and it’s into the wine cooler to mature for a minimum of four months.